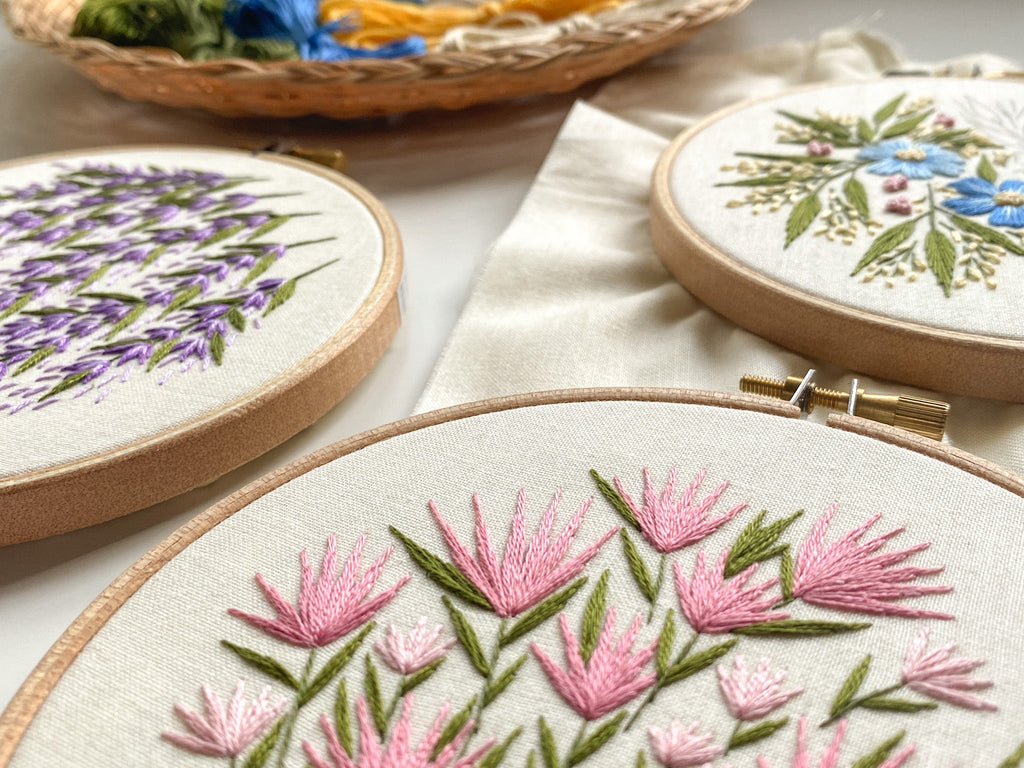
Embroidery Stitch Tutorial: How to do the Stem Stitch

The stem stitch is one of the most commonly used foundational stitches because of it's versatility.
This stitch is a variant of the back stitch. It begins with a straight stitch, and consists of a series of short stitches that create a rope-like texture as you overlap the threads. The twists are how the stem stitch can have such a flowing effect, which makes it a wonderful choice for curvy lines like outlines, lettering, and you guessed it - plant stems!

The stem stitch is a fundamental technique, but it's many different variations is what truly makes it unique!
The stem stitch is my go-to for stems; however, this stitch is great for stitching delicate lines. It's flowing nature makes it easy to stitch a straight or curvy line, so it's perfect for outlining shapes and could even be used for filling a section of your design! By stitching multiple rows of stem stitches close together, you can add a different texture to the fill of any shape - you can even use various shades and colors in the different rows for an extra touch or to add dimension.
In addition to it's multiple uses, you can also change up the look of your lines by varying the sizes of your stitches or using more or less strands of thread. The larger your stitches, the more relaxed your stem stitch will look, whereas smaller stitches will create a much tighter rope-like effect. And the amount of thread strands you go with will determine how bold or refined your stitches will be. The ability to combine multiple of these variations to your design opens up a wide range of unique possibilities.
Instructions: How to do the Stem Stitch
For the stem stitch, I generally use 2-3 strands of thread, but feel free to increase or decrease the amount you use as you see fit!
Step 1: Bring your needle up through the fabric, and down one stitch length away. Pull the thread almost all the way through to the back of the fabric, but leave a small loop on the front of your hoop. Keep the loop on the curved side of the line.

Step 2a: Bring your needle up halfway between the start and end of that first stitch.

Step 2b: Pull the needle and thread all the way through to the front so the thread lays against the fabric and the small loop goes away.

Step 3: Make another forward stitch, still keeping a loop of thread on the front.

Step 4: When you start your next stitch, bring your needle up through the end of the previous stitch.
This is the basic movement that you'll use for the stem stitch.
Repeat the same process until you reach the end of the line.

Step 5: When you reach the end, make a half stitch and end it in the same spot as the previous full stitch

Although basic, the stem stitch can be challenging - so if you need an alternative, the outline stitch is a great replacement!
The outline stitch is often confused with the stem stitch because of how similar they are, but the main difference you'll find is where the working thread is located as you stitch. With the stem stitch, the working thread is always below the stitch line, whereas with the outline stitch, the working thread is always above the stitch line. It's a subtle difference, but if you look closely, you'll see the small stiches in the outline stitch are twisted in the opposite direction as they are with the stem stitch. These stitches are almost identical, and as a result, their names are often used interchangeably!
I love the stem stitch because it always adds an elegant touch to my pieces - give it a try and tell me what you think!
CLICK HERE to view a video tutorial for how to do the stem stitch, and be sure to give us a follow for future breakdowns!
Happy Stitching!


Leave a comment